
Steps for Making a Platinum/Palladium Print
Using solutions of platinum and palladium salts was an important printing method for late 18th and early 19th centuries fine art photographers. The methods fell out of favour due to rising costs and the development of new printing methods that we are more familiar in the present day. Platinum/palladium printing has become more prevalent as photographers look to add a handcrafted look to their prints.
Platinum/palladium prints are made by coating paper, usually watercolour paper, with a light sensitive solution of platinum and palladium salts. After the paper is dry the paper and negative are sandwiched in a frame to hold them tightly together and exposed to ultraviolet light. The exposed print is then put in a developer. The final steps are putting the print in two clearing baths and a last wash in plain water. Illustrations of the steps in the process are below.
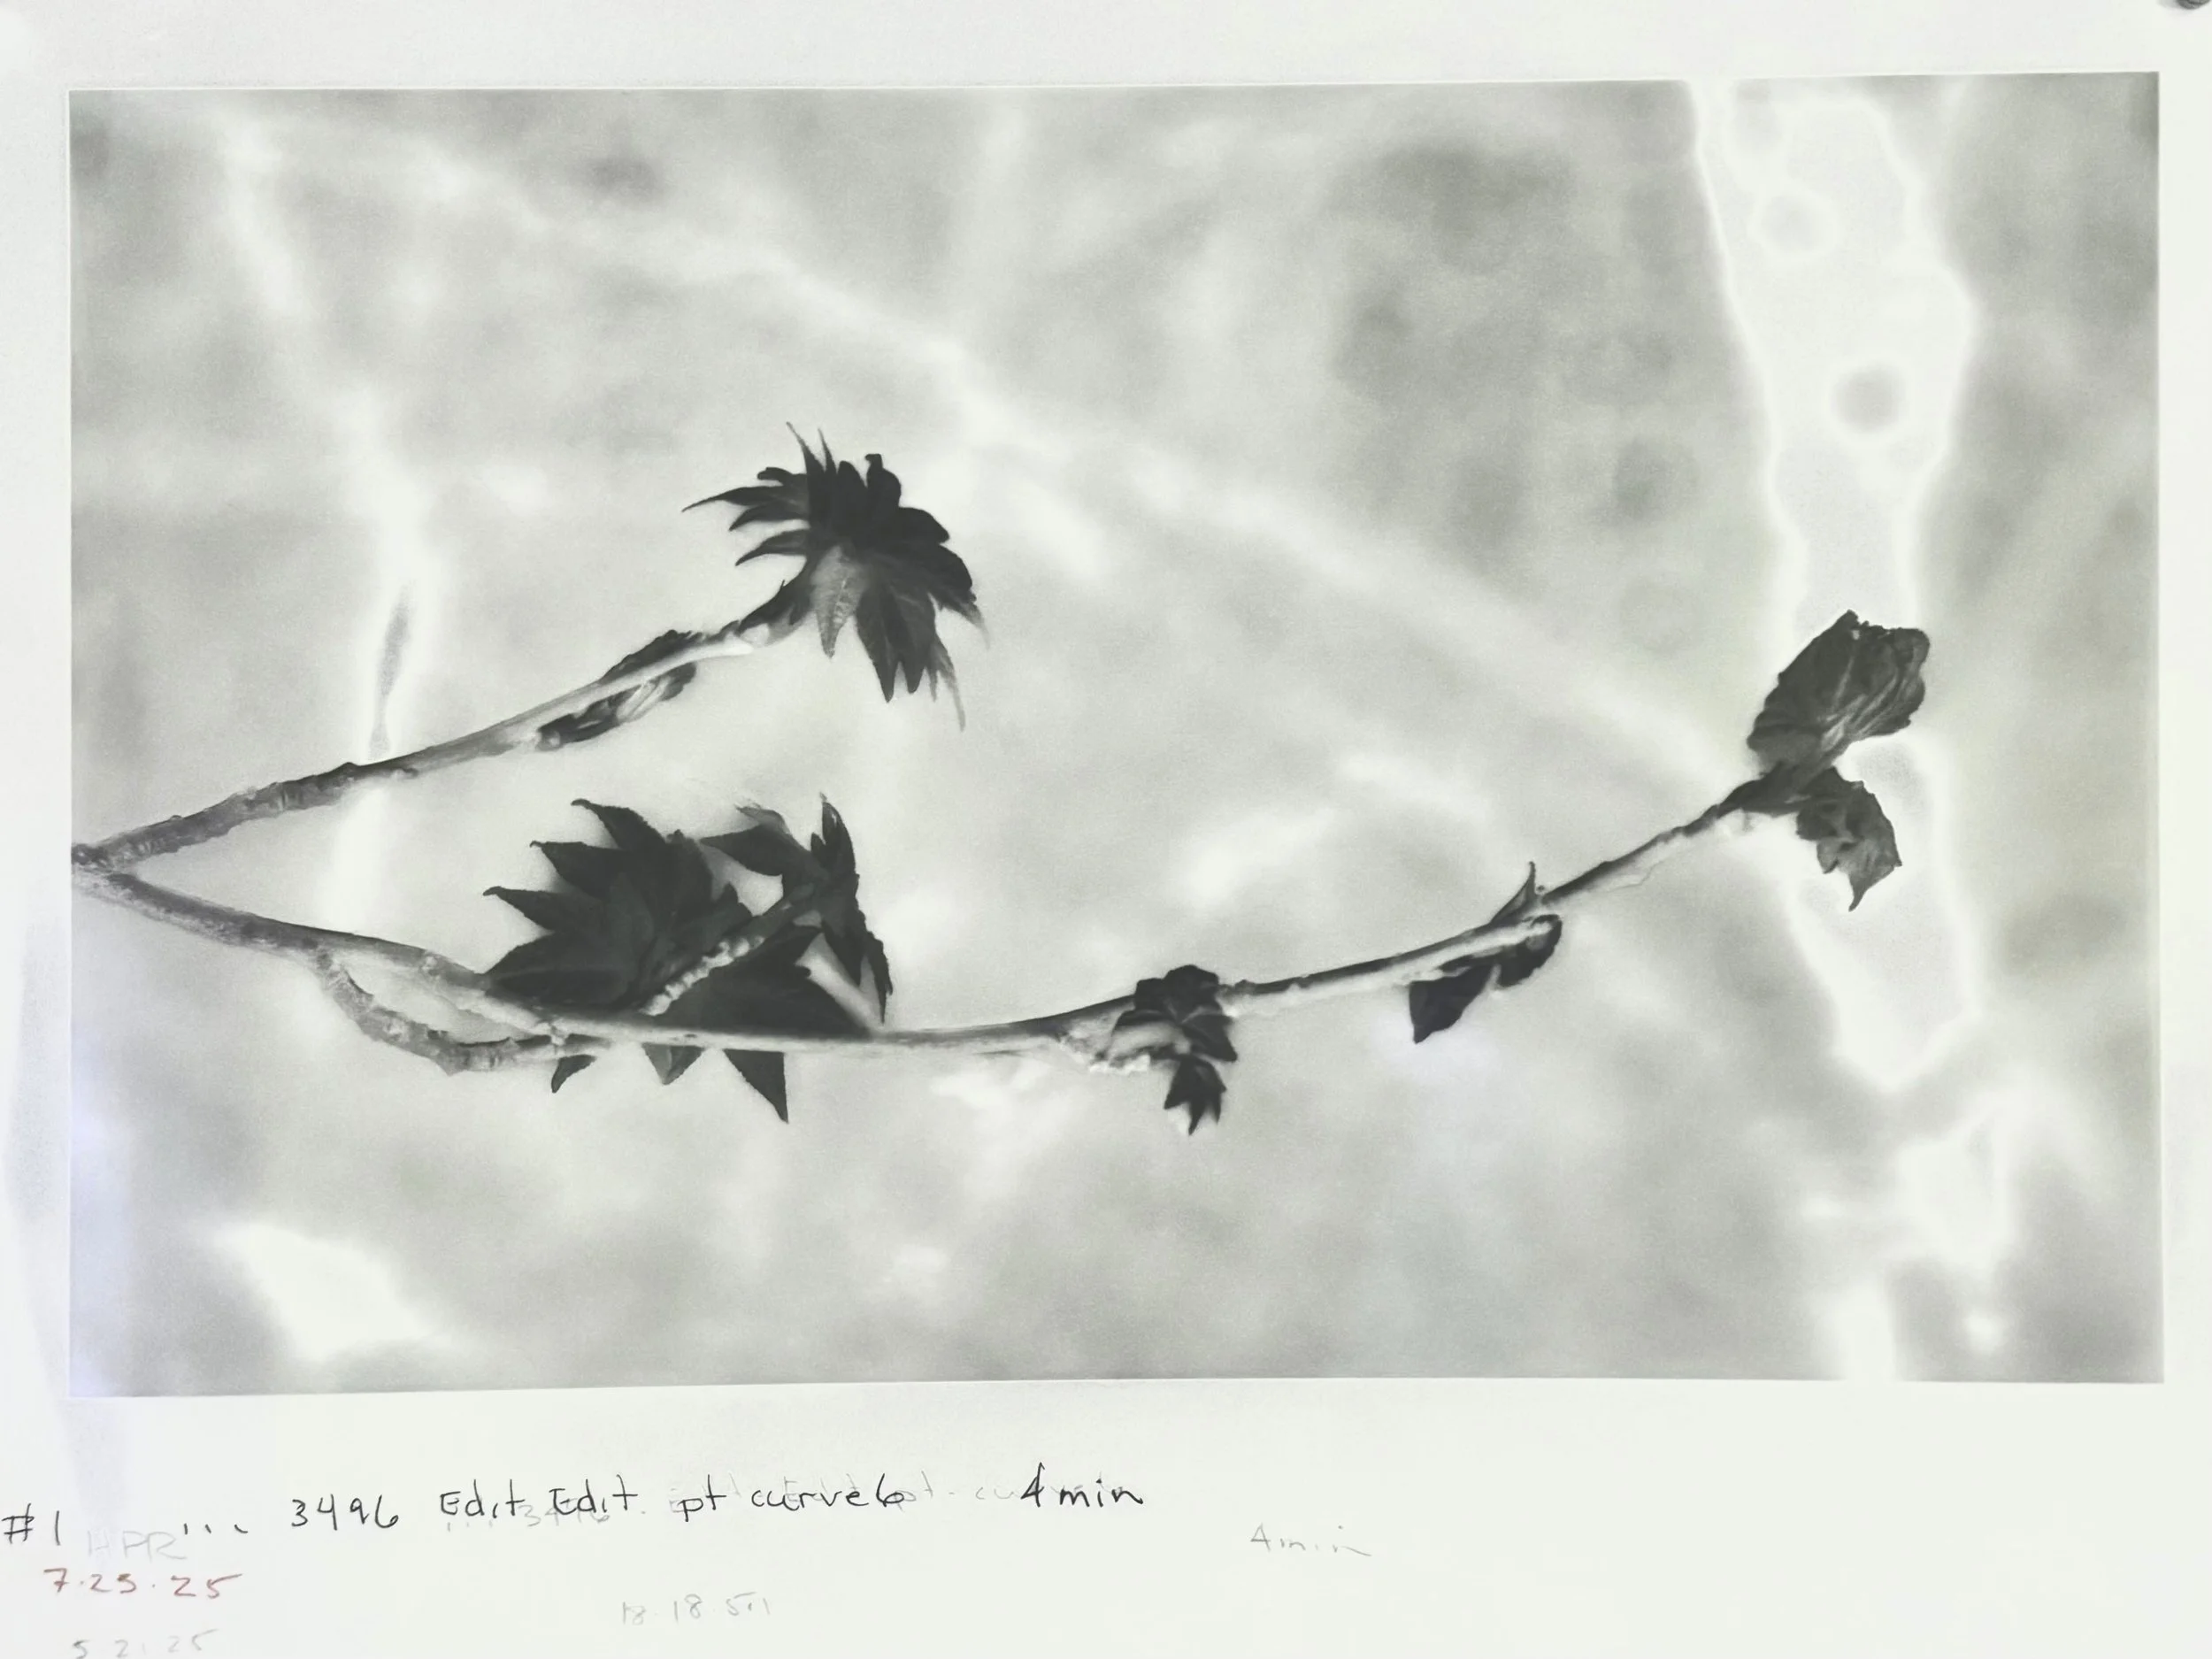
The positive image of the digital photograph is converted to a negative in an image editing program. This involves a conversion from color to black and white and then inverting all of the tones. The image is then printed, in reverse, on a transparent film to create the actual negative. The entire process is a contact process, the size of the negative is the size of the print..
Coating the watercolour paper with a light-sensitive solution of platinum/palladium salts. The proportions among the different solutions that compose the solution used for coating are measured by drop counts.
Dried paper and negative in the contact frame ready for exposure to ultraviolet light. A good contact between paper and negative results in a sharp final image. The size of the negative is the size of the print. By making negatives from a digital file I can control the size of the negative/print.

After the exposure a ghost of the image is present. The split back of the contact frame allows for checking the print while keeping the print and negative in registration.
The exposed print is placed in developer for about 5 minutes.
The fully developed image just needs to be cleared of any remaining chemical by placing in two different baths of 15 minutes each. The final step is a wash with plain water.
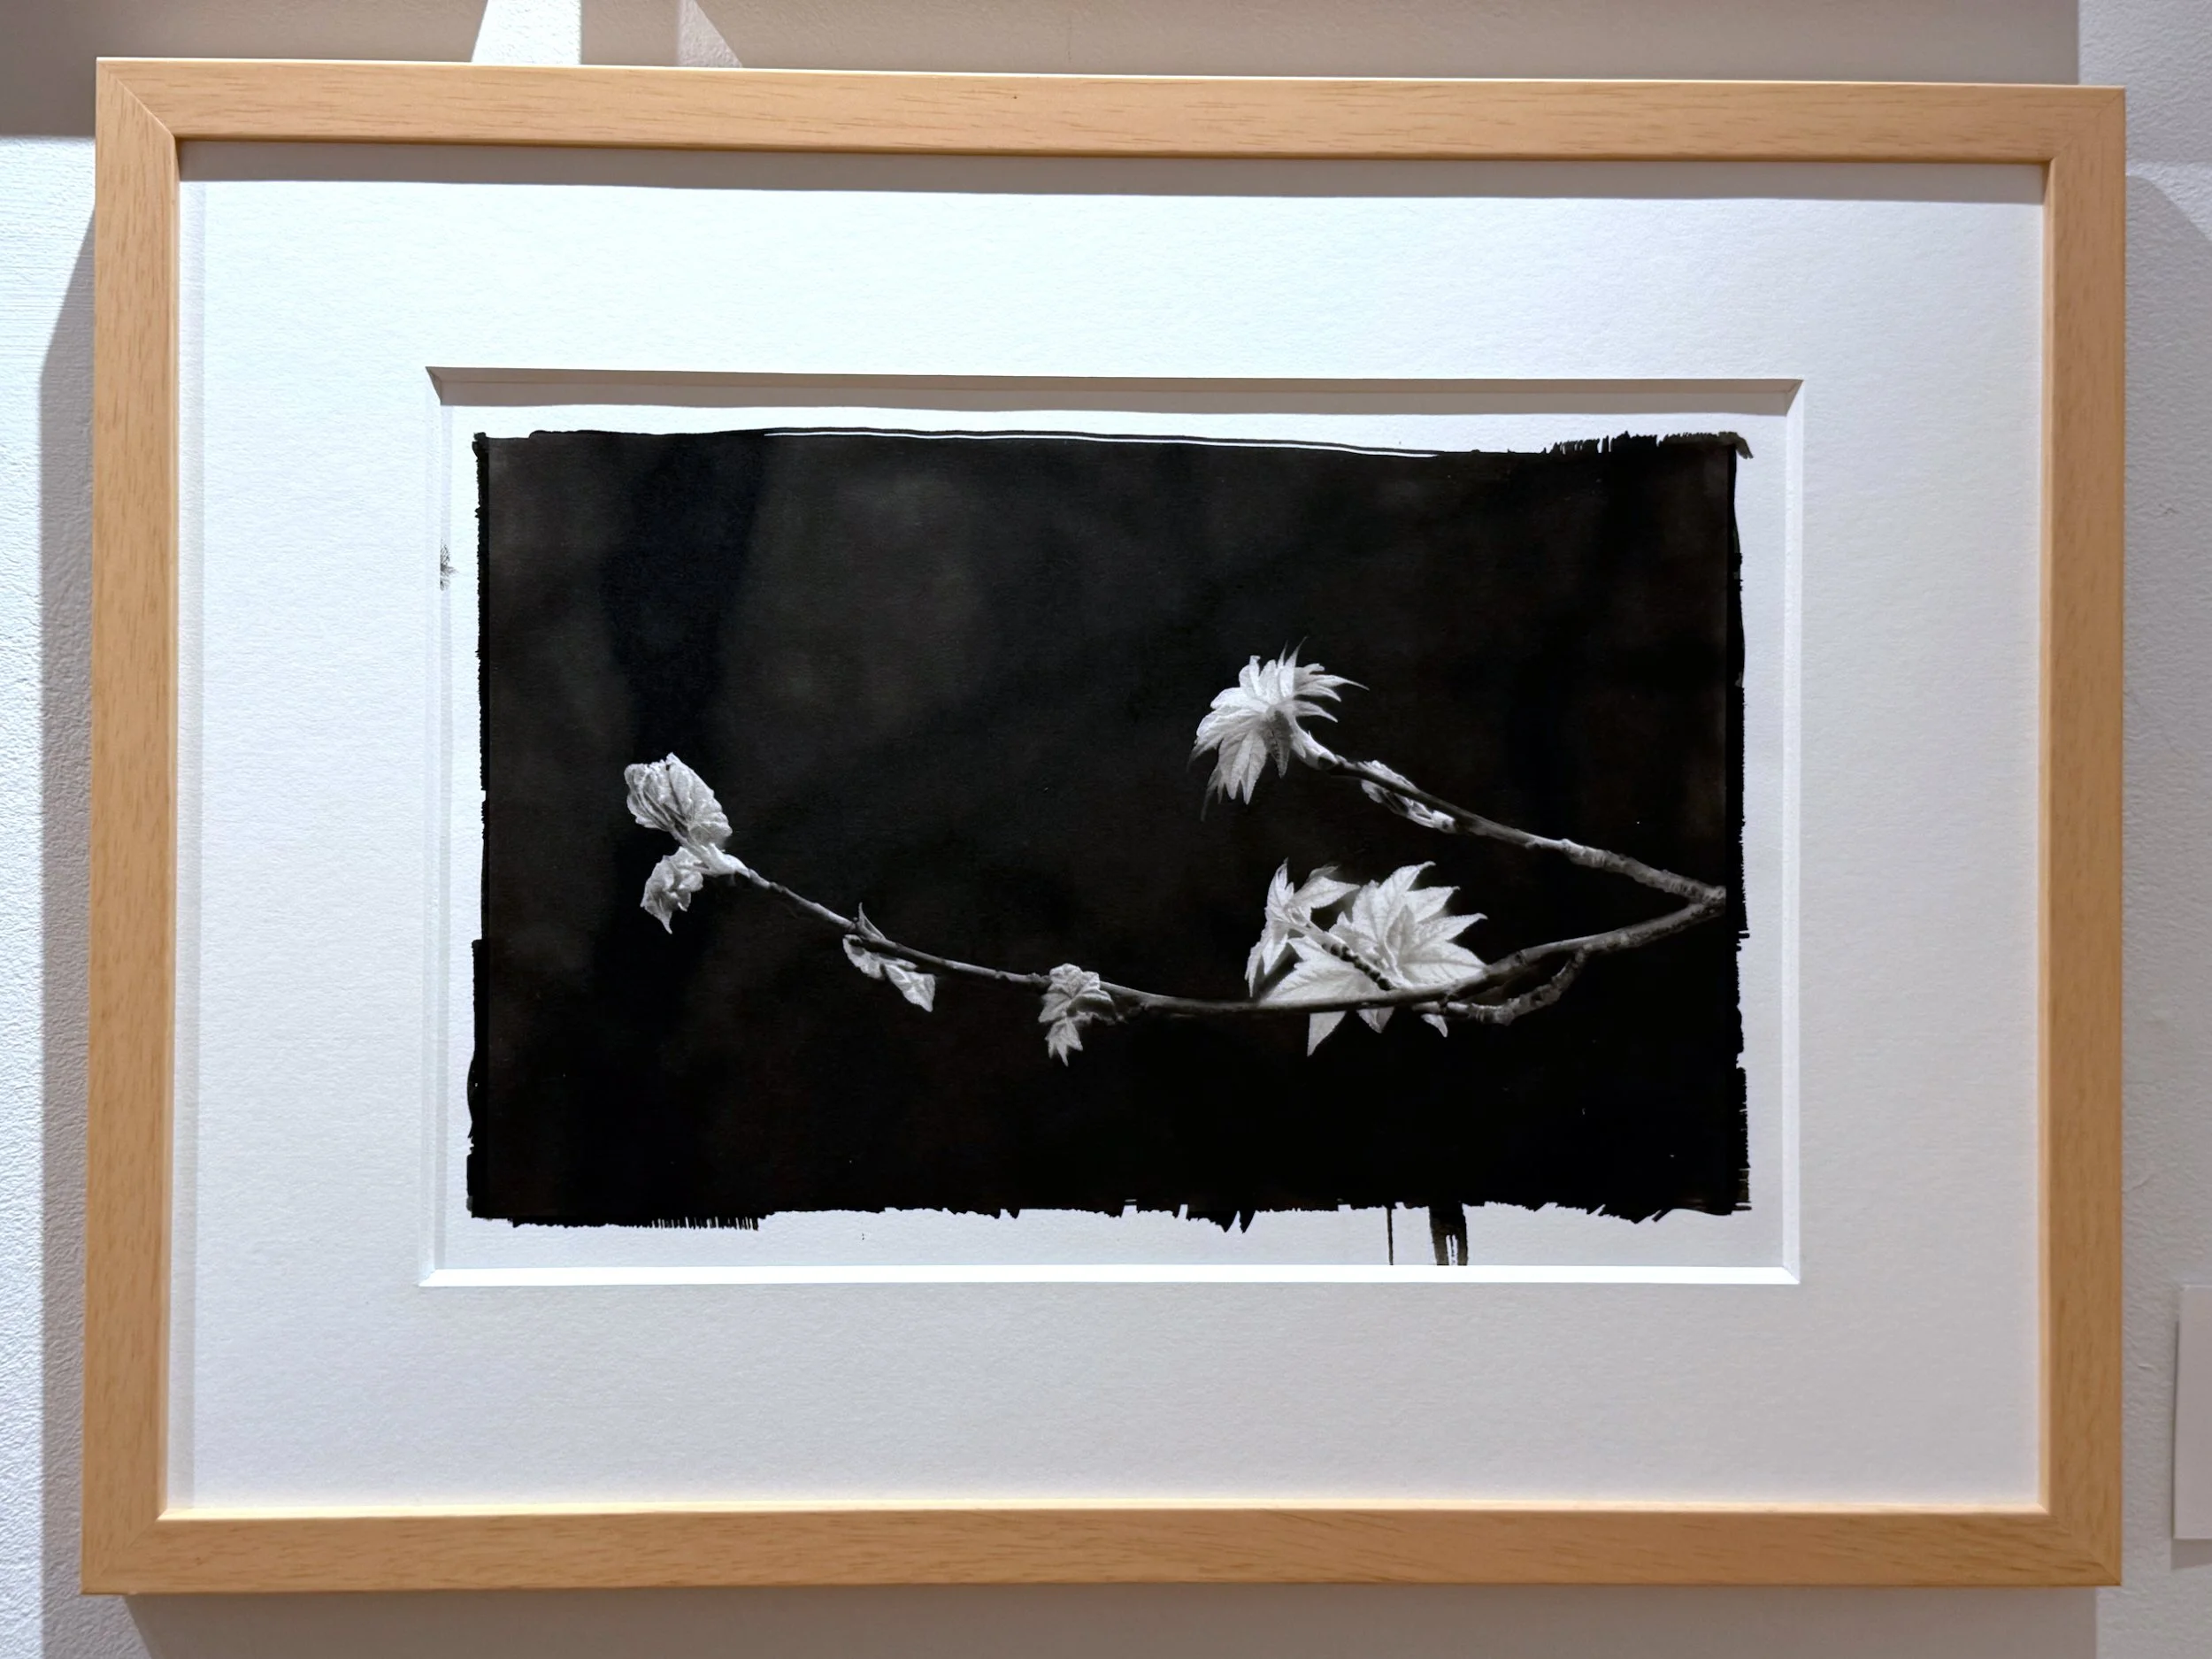
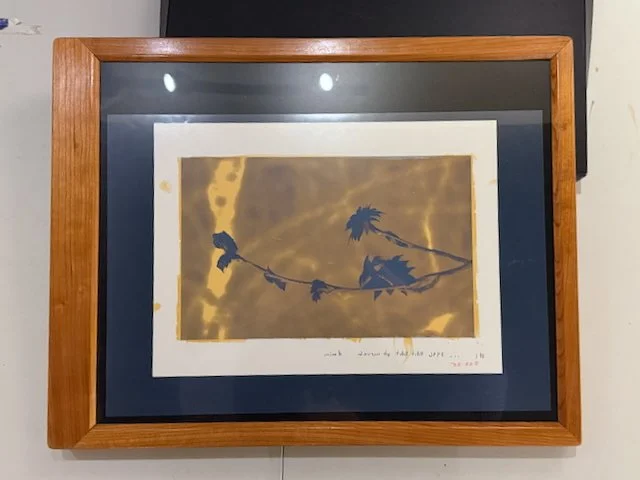
Developed, washed, dried, and framed print.
Visit My Working Space
Come and have a virtual visit to my new “dark room.” You’ll see that it isn’t really dark. Many alternative process printing techniques can by done in low light as long as ultraviolet light is excluded. You’ll see yellow curtains on my windows for that reason. Yellow is good at blocking uv light.
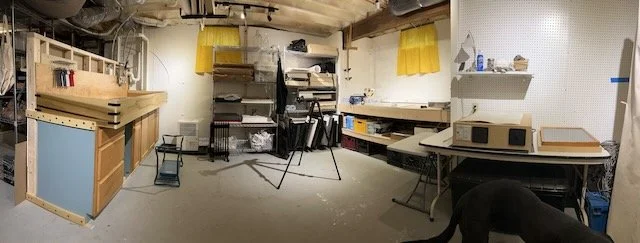
Darkroom with finished 8 foot sink, storage shelves, work table, and ultraviolet exposure box. (left to right) The yellow curtains block ultraviolet light. Work can be done under a moderate level of artificial light.
Moving to a new house gave me the opportunity to build a spacious sink for my photography workspace. This is a timelapse of its construction.